LED Lenser H14r.2 Head Torch Review
As with all my reviews I will have used the bit of kit for a period of time, my opinions will be based on real world use and conditions. I will not review an item I have not used for a reasonable amount of time or one straight out of the box. I think its dishonest to review a bit of kit that someone will rely on without testing it sufficiently first. The review is all my own opinion. I will be clear if the kit has been provided for the review or if the kit is my own personal purchase. This is my own kit bought by me with no discount or mention of bloggng about it.
I have used Lenser Headtorches for many years now and have owned a H7, H7r and SEO5, I have always found them very good value for money and reliable and durable. I prefer them to other models for various reasons but mainly that they are able to use batteries and recharging packs and have very adjustable brightness settings and beams. Perfect for many outdoors activities.
My Lenser H7 was getting a little old and the on/off switch was starting to get temperamental so I decided to replace it, after all it was about 5 years old now. I was going to go for the H7 again but decided to go for the increased light, output and burn time of the H14r.
It cost me around £85 online.
The non rechargeable H14.2 version is around £55
Great value for a quality bit of kit
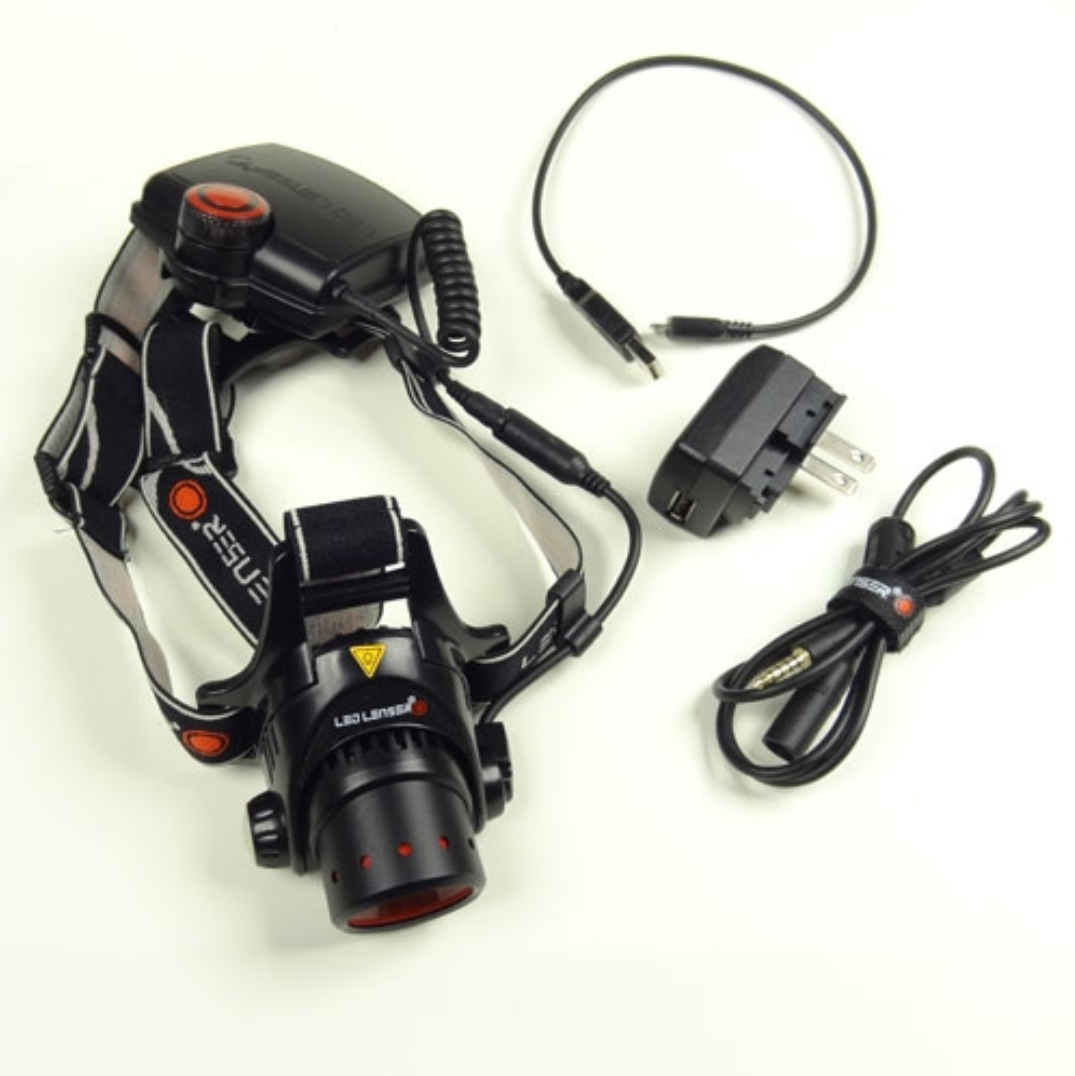
So What do you get in the box?
 |
| Headtorch, Battery Pack and charging leads/plug |
You get the Head torch itself , Battery pack, Mains plug, USB-Micro USB Lead, Extension Lead.
Plug – This is Standard Mains USB plug for your country, 3 pin in the UK but the Torch will charge fine from any USB socket. A laptop or charging block will work as well. Its a chunky head torch so if you are looking for a minimal weight small torch with a bright light then you need to look elsewhere but this has some features which I would prefer which makes me put up with the additional weight and size.
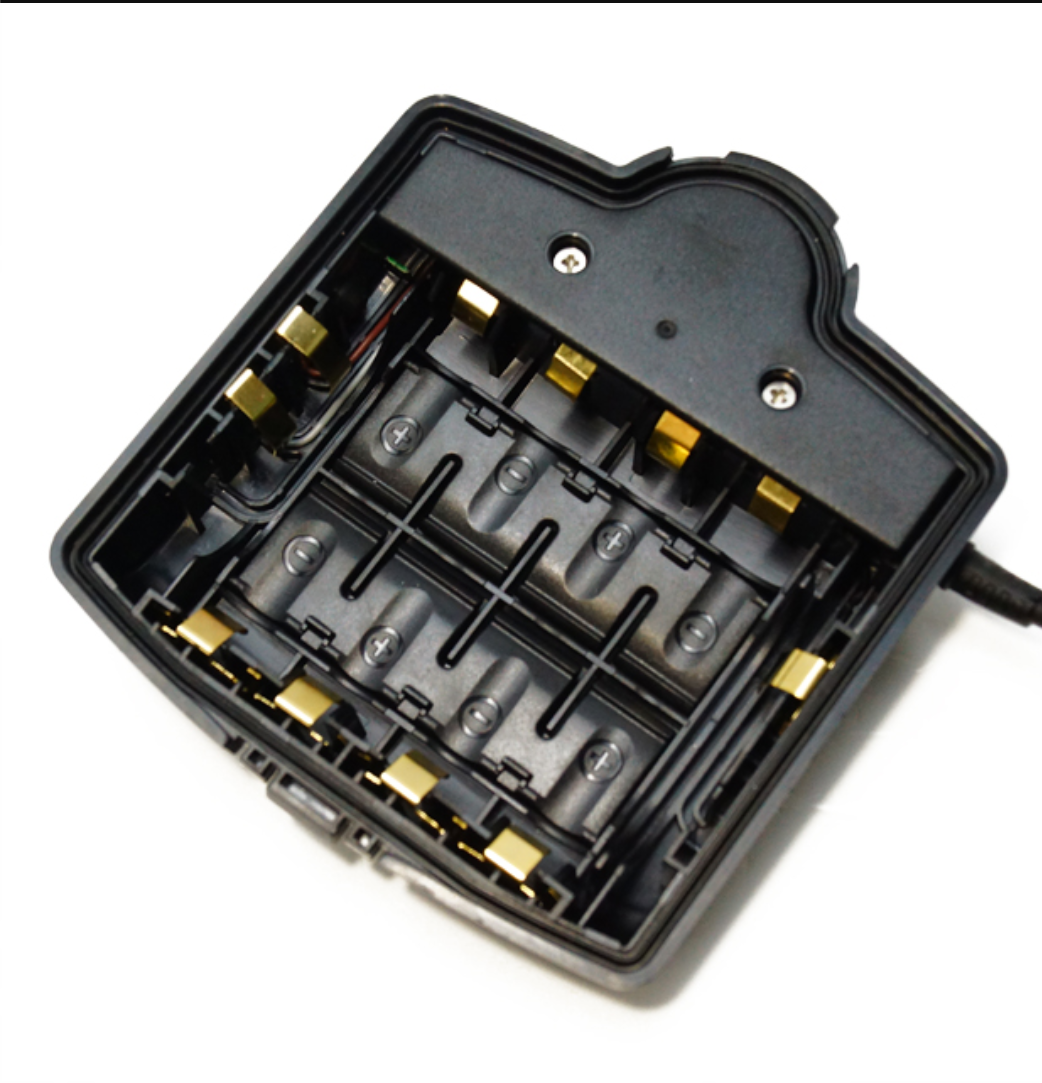
Battery Pack – This is a removable battery pack that fit horizontally across the battery case, it can be recharged via the Micro USB plug on the side of the battery case without removing. It can take 4 different types of battery size. The rechargeable pack and 3 regular battery sizes with the various contacts and fittings inside the case. This should ensure you can always get a size to fit wherever in the world you are, which is a great feature even if you are likely to only use the charging pack.
The best performance however is using the supplied pack.
 |
| Battery case with rechargeable pack fitted |
 |
| Many connections to take CR1 camera batteries and AAA/AA batteries plus button batteries |
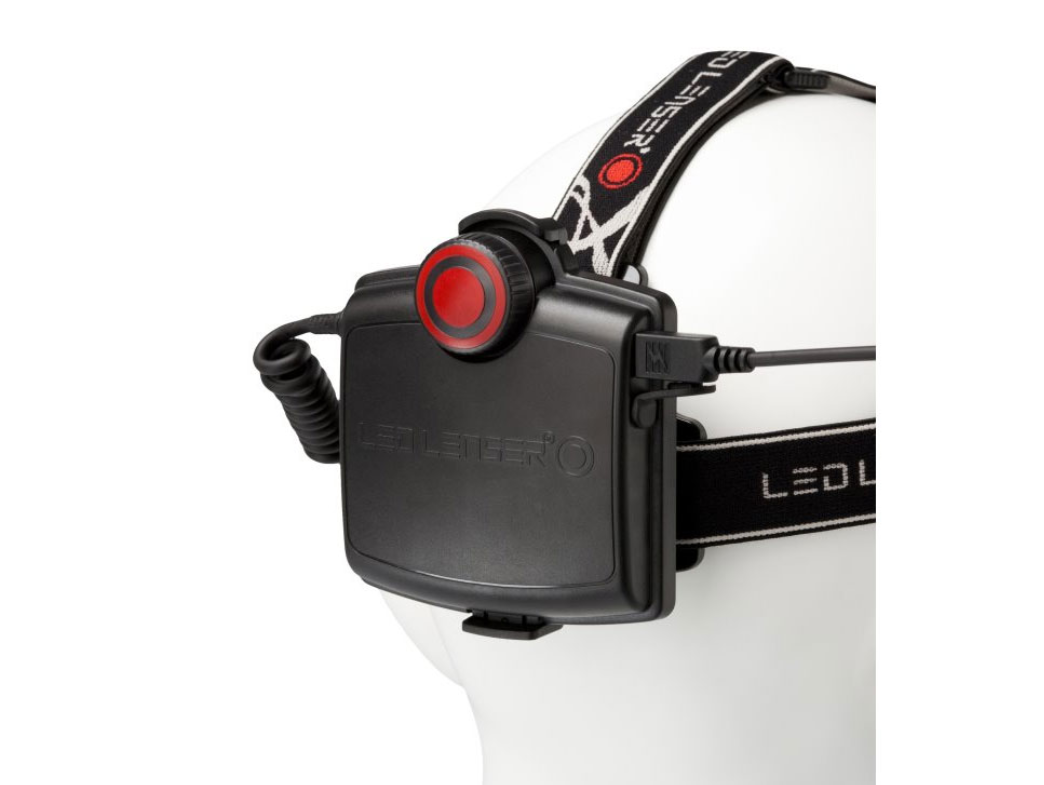
The Battery case also has a few additional functions which are really useful. It has a red light to use as a rear light which in some races is compulsory and its safer anyway, its about being seen as well as seeing. It has a charge indicator feature. When you turn on the headtorch the rear light will flash either green, amber or red for levels of charge. This makes it really easy to see if it will last on the run you are doing or if you need to swap the batteries or charge.
Finally its a brightness adjuster, you can rotate the wheel and tune the level of light on any setting from the lowest level (60 lumens) all the way up to the brightest power setting (450 lumens). This is great if you are looking at a map or something close and the setting is too bright, it also saves power to adjust down and increases burn time.
 |
|
Rear light and charge indicator plus brightness control
|
Head Harness – The Head harness is the three strap affair that is really adjustable and cant slide down over your forehead due to the middle strap. Its very comfy but I find as its a heavy torch its best worn with a buff or hat of some sort under it. Its a tough well built harness with thick straps and should last the test of time. Easily adjusted even in the dark.
A great feature of the torch is that you can slide both the battery pack and light itself off their clips on the harness. you can place the light onto a chest strap of a pack or belt etc using a sprung plastic clip which gives you choice of placement. Some people prefer chest placement etc.
You can also use the extension lead provided to extend the cable between the light and the battery pack and put the battery pack in your pocket or jacket, especially useful in very cold weather where the cold really reduces battery power. This may also allow you to wear in cold weather with your hood up and wear it elsewhere. Another great feature.
Lamp – The lamp itself is a single very powerful LED housed in a tough aluminium case fitted to a plastic housing. its coated in what look like a black anodised finish, all very well made and tough.
Adjusting the beam focus is very easy even with thick gloves on. Just simply pull or push the into or out of the housing to focus the beam. Very simple and easy.
Turning on and of is by means of a simple switch on the side, A white rubber switch you depress, again easy with gloves. A single push turns it on to the low power setting (60 lumens), then if you press it again before 2 secs is up it will go to the next power setting (450 Lumens). If you want this order to be different you can change this by a sequence of button holds so that the first press will get power setting selected and second will get low power. Another good feature so you can set it up to your desired first switch on setting. If you hold the button at any time on any setting it will switch to Boost setting where it will be 1000 lumens for 30 seconds and then automatically revert to the previous setting. This is great for looking for distant features such as gates and landmarks in the distance.
Performance – Below is the table of facts and figures, some pretty impressive burn times considering the power output. It should get you through a night race or section without ever needing to change the batteries in the dark. I have used it overnight several times and never had the battery drop anywhere near the final 25%. In fact the Low power setting is good enough for most flattish terrain at night.
Below are pictures I took on a night run recently with it, this is a disused railway line near where I live and is reasonably well sheltered from light pollution. Each brightness setting was tested at Spot, Middle beam and Widest beam possible. You can see just how powerful the lamp is especially on boost setting. It really is like 300mts of daylight. Even the power setting is more than plenty bright enough. All pictures were taken in the exact same spot for comparison.
 |
| 1000lumens (Boost) Wide Beam |
 |
| 1000Lumens (Boost) Mid Focus Beam |
 |
| 1000 lumens (Boost) spot beam |
 |
| 450 lumens (Power) Wide Beam |
 |
| 450Lumens (power) Mid Focus Beam |
 |
| 450 lumens (power) spot beam |
 |
| 60 lumens (Low Power) Wide Beam |
 |
| 60 Lumens (low power) Mid Focus Beam |
 |
| 60 lumens spot beam (low power) |
Summary – I really like the Headtorch and it ticks all the boxes for me, I am willing to trade off the weight and bulk for the performance in burn time and light output. Its great value for money compared to lights with comparable performance and its easier to use multi days in a row with the ability to use batteries of various types. Its durable and well built and very comfortable for being a heavy light. I have never had a reliability issue with my previous Lensers. It has plenty of customisations and variable light settings etc that are not complicated to use or set up and don’t rely on reactive light systems or fancy computer set up. Its ability to be set up and changed in use and position whilst out on the trail.
Pros:
- Powerful beam and great Spread of light
- Multiple power sources (batteries of various types and rechargeable)
- Well built and sturdy
- Great burn times
- Comfortable and versatile system for wearing on head or mounting on jacket/pack etc
- Good value cost wise compared to similar spec lights
Cons:
- Heavy (around 340g)
- Bulky to fit in a small pack
- Does not come with a protective pouch (really should do), I wrap it in an old woolly hat to protect it.
All in all a great Headtorch which I hope lasts me many years.
Lindley
Please feel free to comment on this post and correct anything I have missed or ask questions.
I am slowly going to work my way though all the recent kit I have bought and update the review page.
Related